washi clothespins, part one ... tutorial

oh, boy. a couple of weeks ago i took some washi tape and some small clothespins and put them together. now i'm not the first person to do this by any means, but i sure did love the end result--and how super-easy it was to cover a clothespin with the paper tape. so i thought i would give you a little tutorial on how i did it.
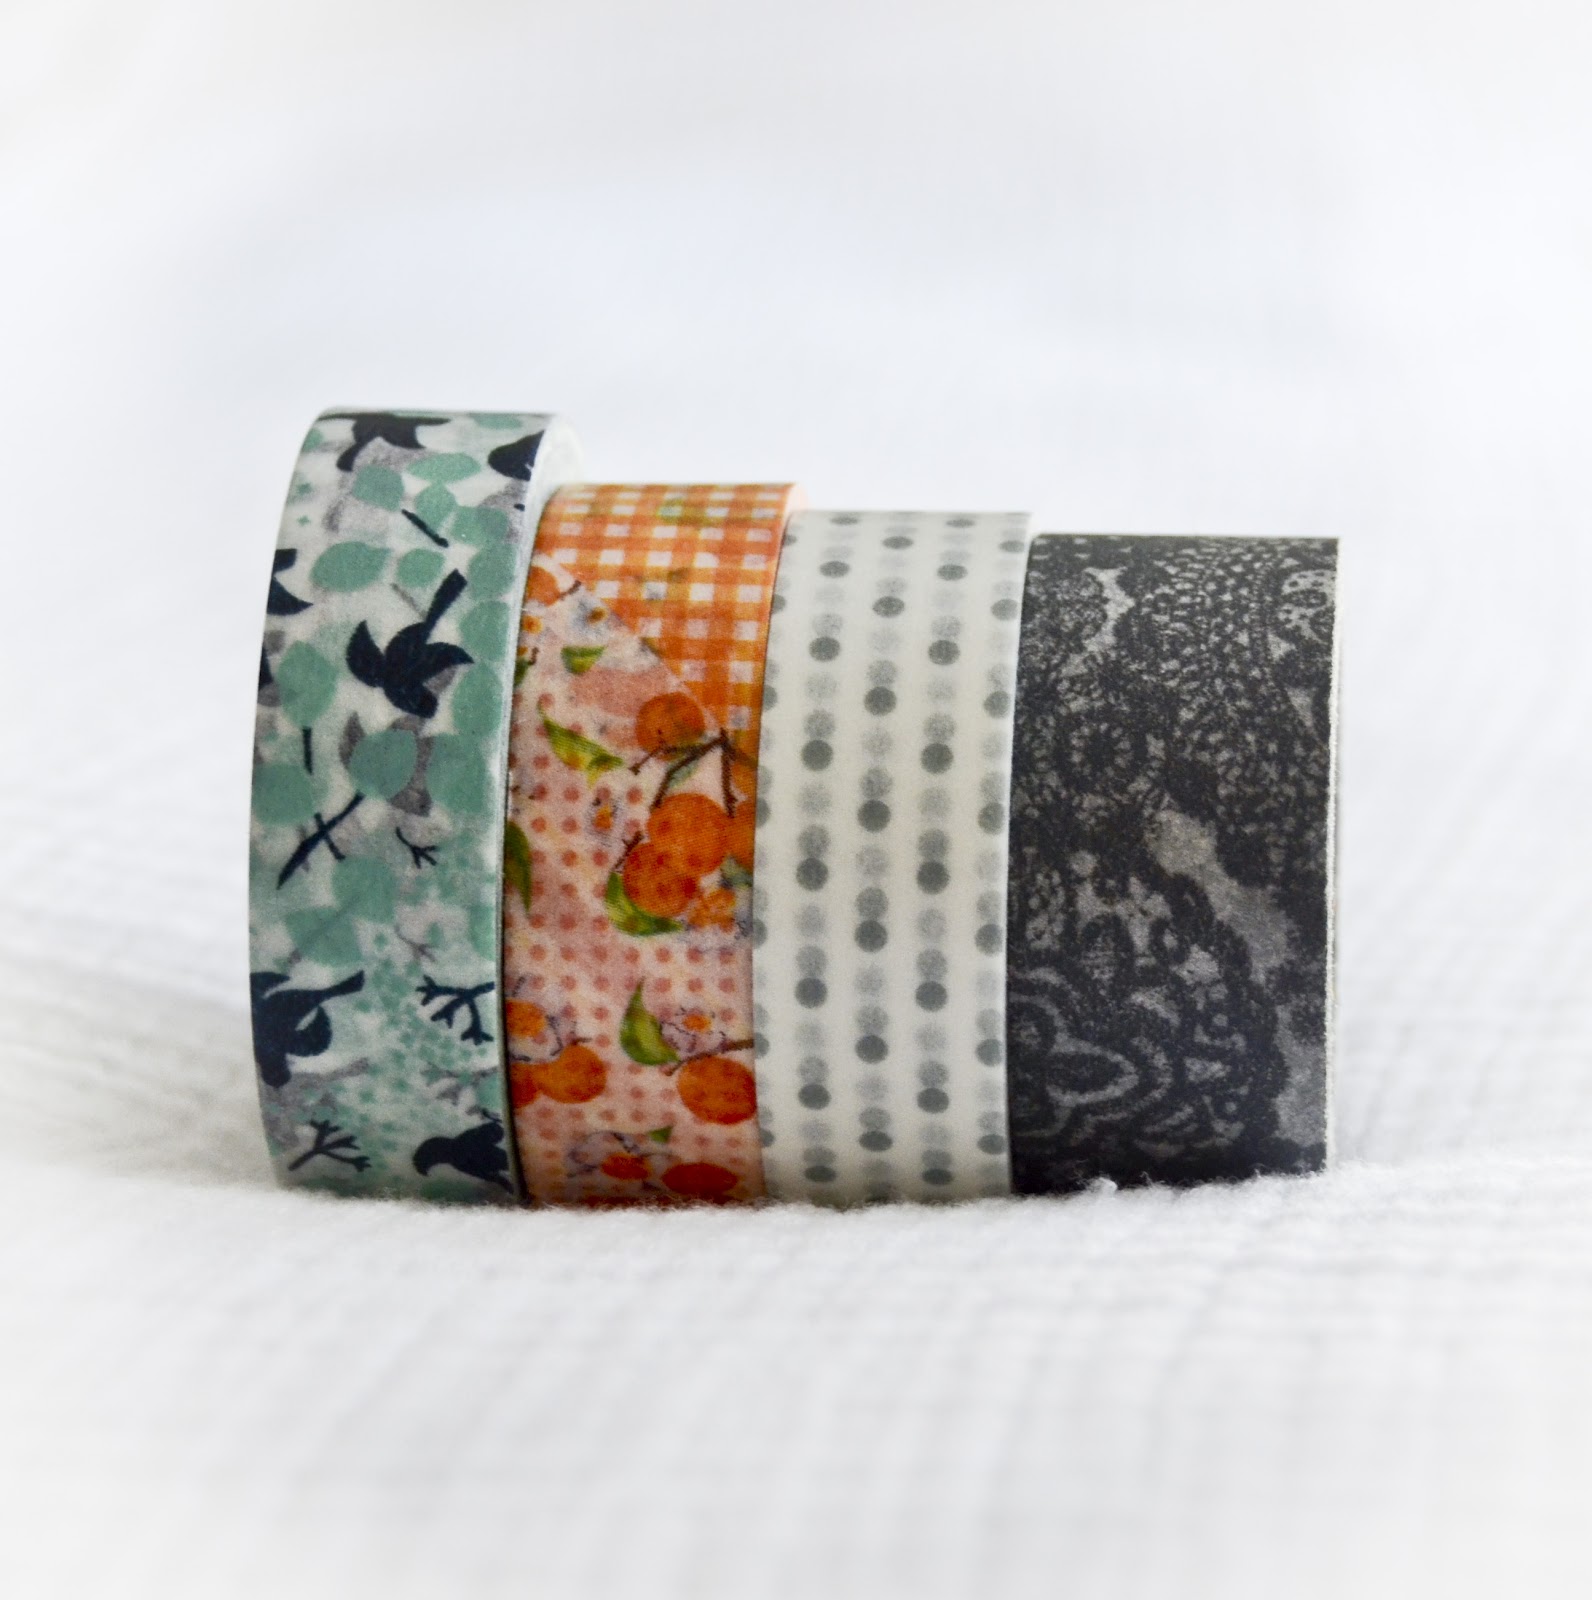

you don't need much--just some different rolls of washi, a craft knife, and small clothespins--or even large ones will work. (Note to self: Make big ones next!)

you will then simply tape a piece of washi to one side of the clothespin and trim around the edges.


you'll end up with a "window" in your washi...and that's it! you're finished! you just took a plain wood clothespin and turned it into something beautiful in under one minute. how easy was that?
the 2 photos above were taken with my iPhone back when i made the first clothespins for these baby tags and this whole obsession began:

at the time, i knew i'd probably be making more clothespins and that this would make a fun little tutorial for the blog. but it wasn't until i was taking photos of the baby tags and lined up all of the clothespins next to each other that i saw how pretty they look together.


a few days later, i grabbed a bunch of clothespins and rolls of washi and went CRAZY making them. i think it was because almost every washi design is beautiful and i was having fun coming up with different combinations.


if you'd like to try this for yourself--and you really should because it's so easy--you can find loads of washi tape styles at Pretty Tape or Two Peas in a Bucket.

like i said, i made several different kinds and i'll be back in a day or two to show you the rest. I'll also be showing how i've packaged them up to sell in my Etsy shop (for those who don't want to make any themselves). the possibilities are beautiful and endless!
Comments
Post a Comment
i do appreciate your comment!
~Rebecca